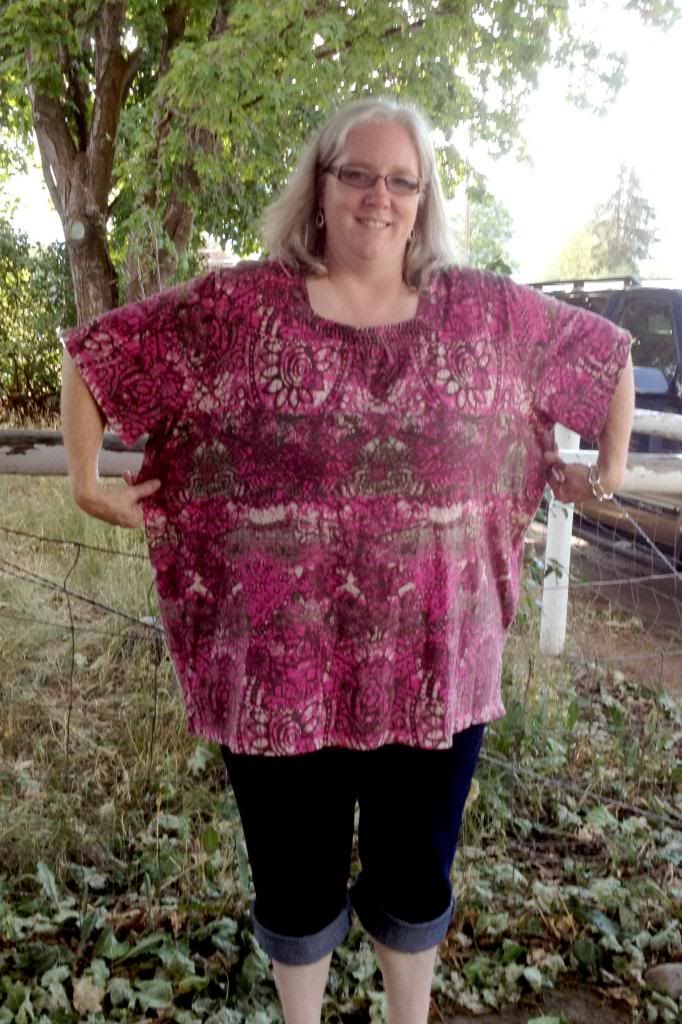
(My 7-year-old took this picture. Not too bad!)
I liked the squared and gathered neckline, so I wanted to keep that intact. I decided this was going to be a tank top, and I wanted wide shoulders, so I started there. I tried the shirt on inside out and figured out how wide I wanted the shoulders to be. I added an inch for a hem, then marked that spot on each side.
From there I just followed the curve of the existing sleeve to mark where I was going to cut. I cut that sleeve off, then folded the shirt in half lengthwise so I could use the cut side as the guide for the other side.

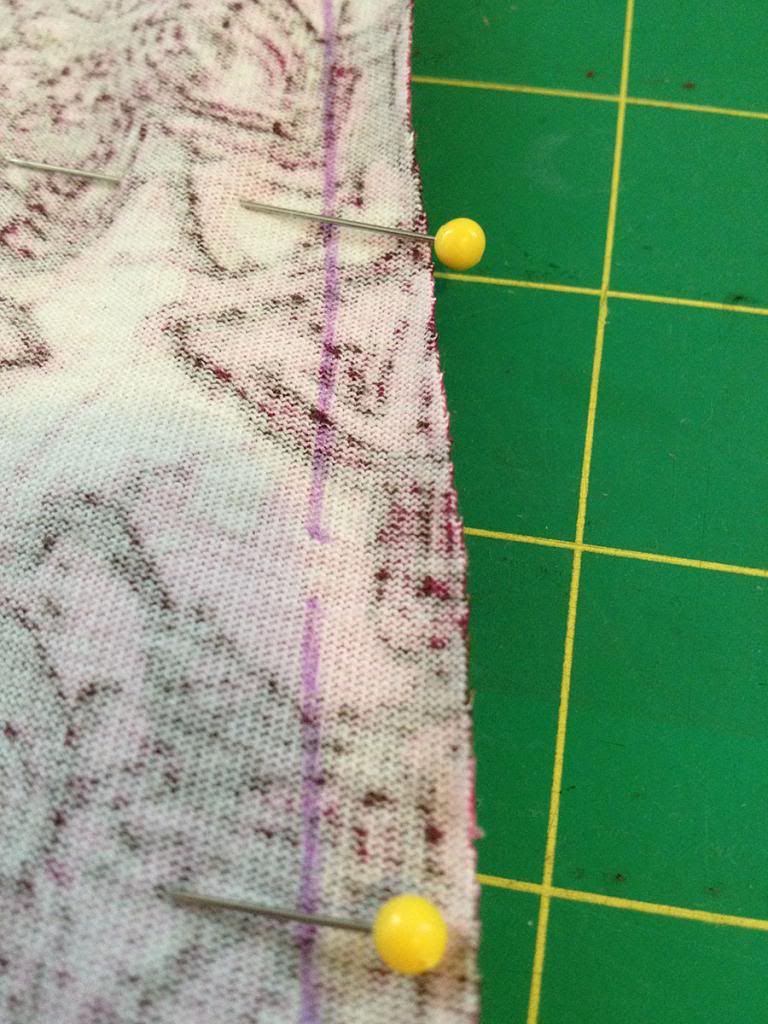
I tried the shirt on again (inside out) and determined where I needed my new side seams to be. I pinned a few places down each side – gotta love taking clothes off with pins in – and marked those spots with my disappearing ink marker. When I laid the shirt back down on the table and flattened it all out I was able to connect those dots and see a nice almost-princess-cut taking shape.
On the first side I added a half inch seam allowance as I was cutting (because the line I had drawn was my desired seam line).
Once again I folded my shirt in half lengthwise and used the cut side as a guide for the second side. This time I didn’t have to add the half inch seam allowance because it was already figured into the first cut.
Now that all the cutting was done it was time to start stitching. I did the armholes first. I’m a risk-taker (
Stitch, talk with kid, stitch, referee yet another disagreement, stitch. It took a while to get this part done because most of the 9 kids that were in the house at the time had to come running to me to complain about someone else.
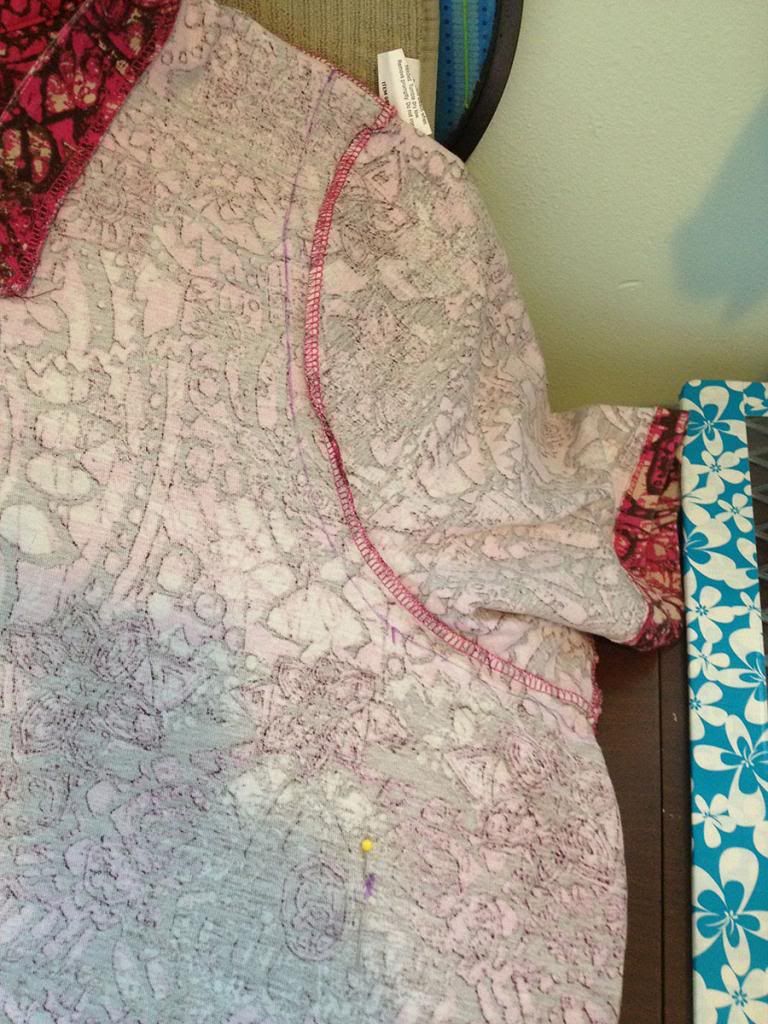
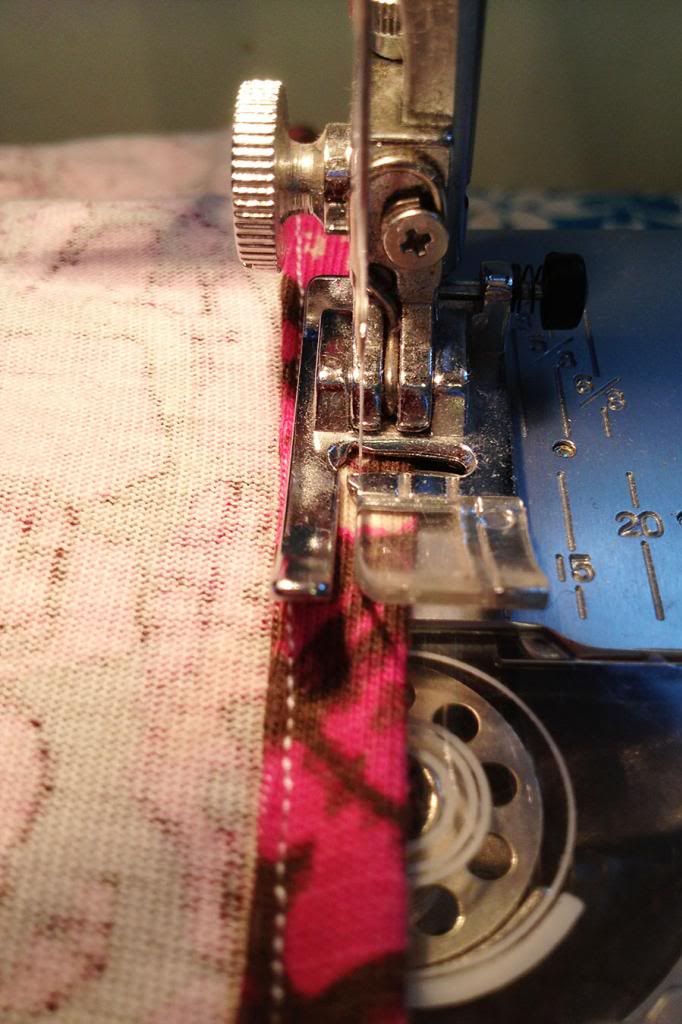
I went around the armhole once very close to the inside edge of the hem, and then went around again about a quarter inch from the outside edge because I like the finished look of the two rows of stitching.
After both armholes were finished I did the side seams – they were superdy-duperdy easy because they were just a straight stitch with no complications. All done. Time to try it on again.
I didn’t get a shot of it at this point…I think this was when I had to stop my toddler from running down the hall with a fork in his mouth.
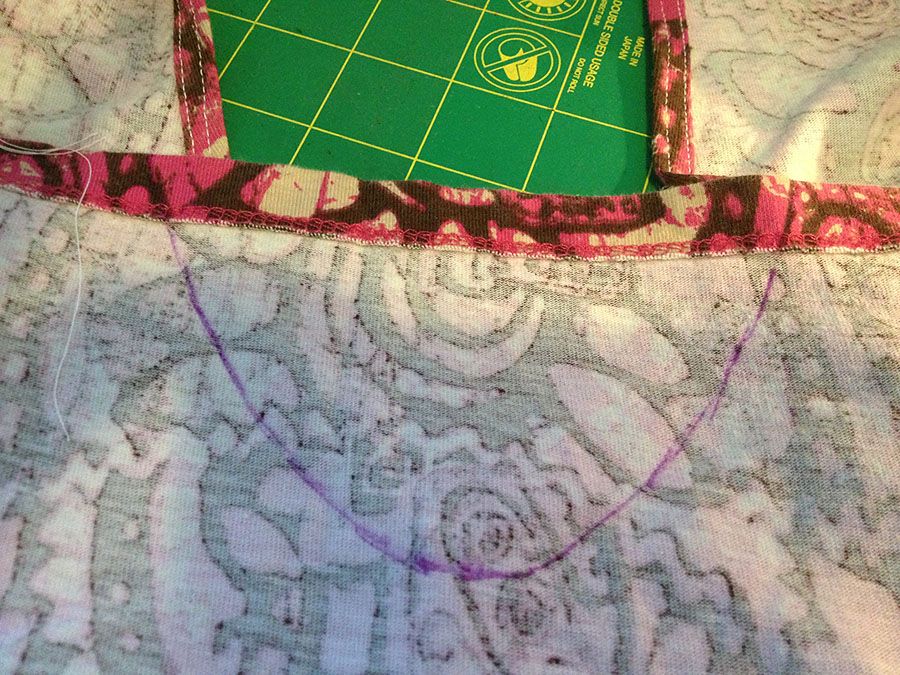
When I tried the top on I found that it needed bust darts. I’d never done them before, but it was obvious that they needed to be there. I also saw (as I had expected) that the armholes were too low for modesty. Both problems seemed easy to fix.
Bust darts – worked like a charm.
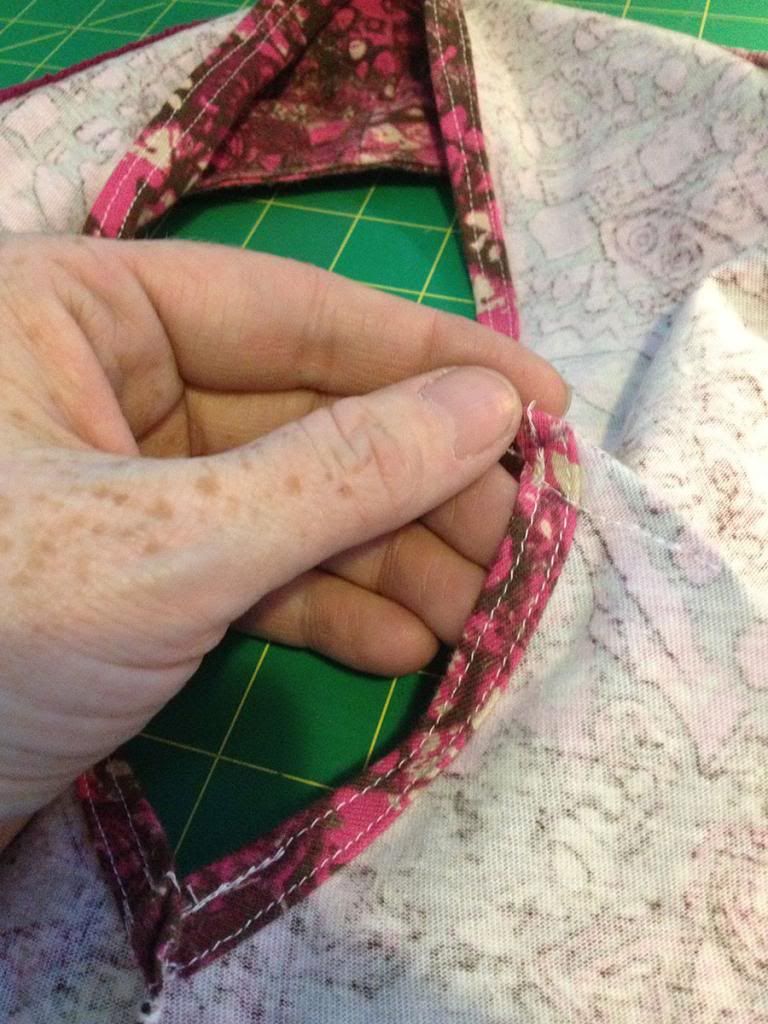
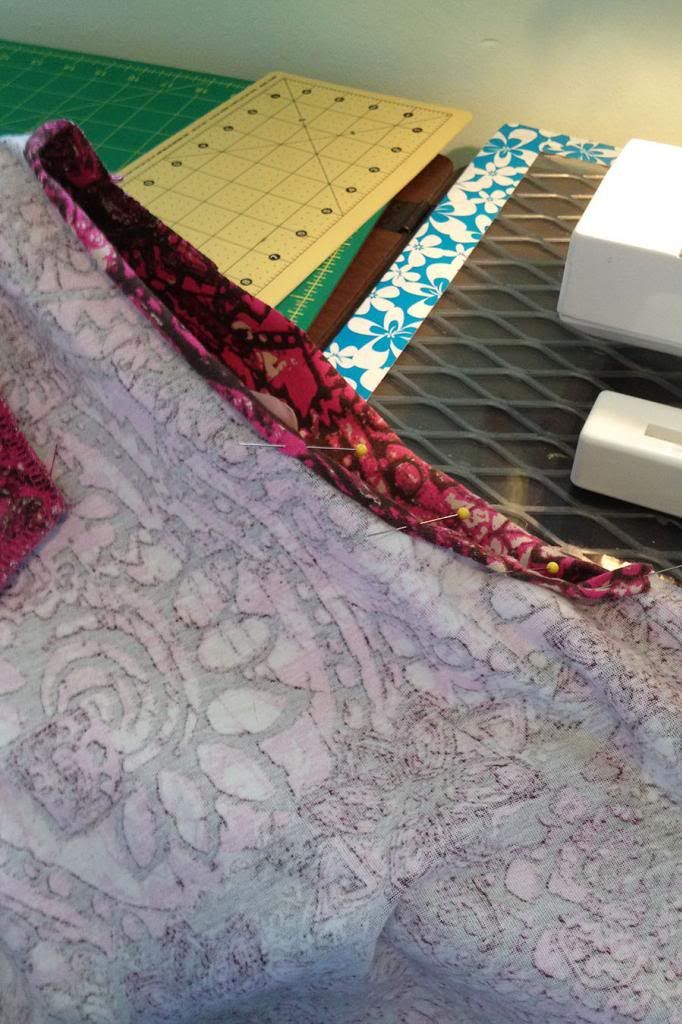
I needed to put a bit in each side for modesty, so I grabbed one of the sleeves I had cut off because it had a finished hem. To get the right size I just laid the sleeve piece over the armhole and traced about a half inch beyond the existing hem. Does that make sense?
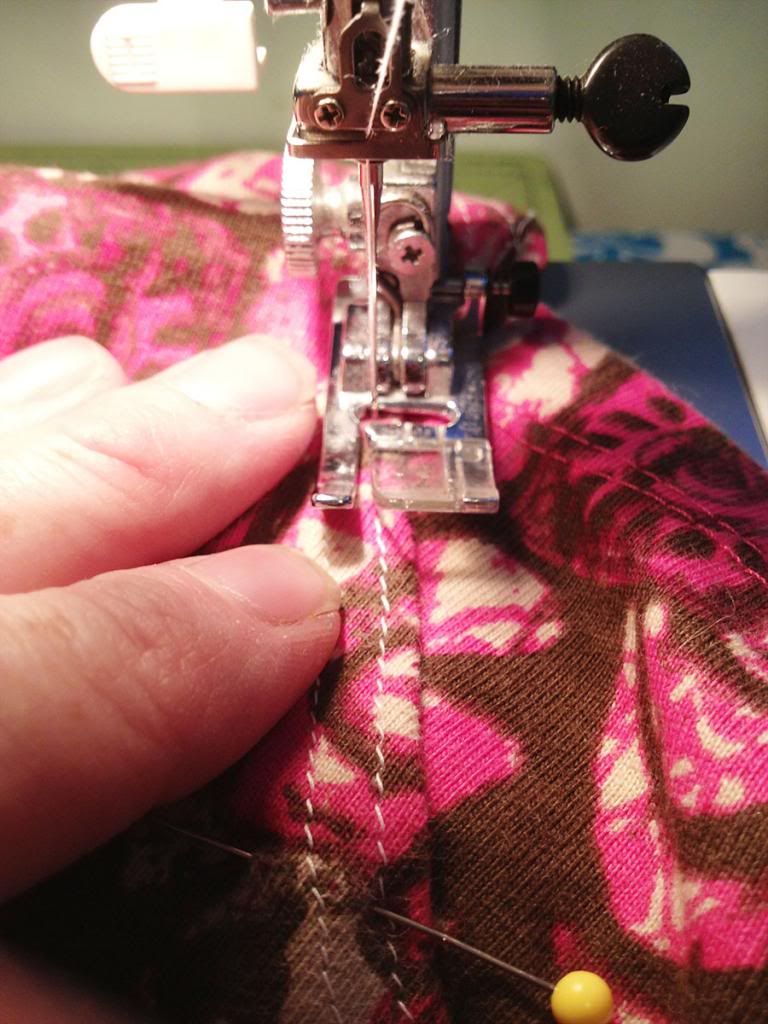
I just felt along the hem and drew my line about a half inch past it. Then I cut that out, pinned it on, and flipped it over. I wanted to sew it on the right side because I wanted to sew along the stitching that was already there – I was hoping that would make it a little less obvious as an addition.
After those pieces were added on each side, the top was done. Time to try it on and rejoice! And rejoice I did – it came out exactly as I had hoped! What were the chances of that?? This was my first time refashioning a shirt, and my first time creating my own refashion completely from scratch. So happy!

I've linked up at these blogs...


Great work! It's must better! Thanks so much for sharing the great tutorial! Would love to have you visit me sometime.
ReplyDeleteHave a fabulous weekend!
Hugs from Portugal,
Ana Love Craft
www.lovecraft2012.blogspot.com